How to use old coffee grounds

From the farmer and producer to the roaster (us!) and you yourself, your coffee gets treated like the precious product it is throughout its life, from sapling to sip. Except that is, for the very end: once you’ve brewed your cup according to your particular method of choice, doesn’t just chucking the grounds in the bin seem a bit of a shame, somehow?

Try out one of these suggestions to give your coffee a more fitting send-off.


Make a coffee scrub-mask

Anti-inflammatory, astringent, exfoliating, antioxidising: a whole range of benefits are claimed for skincare products made with coffee grounds. To make a DIY coffee scrub-mask at home, mix two parts coffee grounds with one part olive or coconut oil.

As aroma bases go, coconut and coffee aren’t bad at all, but you might introduce some other ingredients in there, too. Lavender, shea butter, cinnamon, bananas and honey are all contenders.

You’re after a paste consistency. Gently rub a little onto your arm and leave it for half an hour, then wash it off and wait another half an hour. Assuming your skin doesn’t respond badly, you can now apply the scrub-mask to your face and leave for ten to twenty minutes.


Make bad smells go away

Even the grounds of coffee smell an awful lot better than most things. If the aromas emanating from your fridge leave something to be desired, try popping a dish of used grounds in there. Some people fashion deodorisers using old tights filled with coffee grounds, to leave in their drawers and cupboards. If you try this, be sure to dry the grounds out as much as possible first; a spell in the fridge should do the trick.


Make some art

As long as you’re fond of the brown end of the colour spectrum, coffee art might be for you. It will, at least, be an excuse to visit the art supplies shop you’ve walked past a thousand times, since you’ll need some watercolour paper. For inspiration, take a look at Ghidaq Al-Nizar’s @coffeetopia Instagram page. Ghidaq has 35K followers. Hopefully you won’t lose any.


Make slugs and weeds go away (maybe)

Slugs hate coffee’s acidity, while weeds (and indeed any plant life at all) hate its caffeine. Or so some say: there are countless schools of thought on the use of coffee grounds in the garden, many contradicting one another. The online anecdotes says coffee grounds are responsible for everything from towering parsley plants to composting calamities, so tread carefully.


How to describe what coffee tastes like

The phenomenon of tasting notes is a funny one. We use them at jute, of course: you’ll find brief notes on our bags and more in-depth ones on our site’s product pages. But really they’re an odd thing, because while they come across as self-assuredly exact and concise, in reality their chances of resonating 100% with the person buying and then drinking the coffee can be pretty low. Why is it unlikely that many drinkers will experience a coffee in all the ways the tasting notes suggest?

Well, because while we try our best when writing our own tasting notes to dance that fine line between specificity – otherwise, what’s the point? – and a broadness that accounts for individual palates (e.g. ‘chocolate’ not ‘milk chocolate’ or ‘bitter cocoa’), there are so many variables that we can’t account for: the quality and temperature of the water used to brew the coffee, the method used (e.g. cafétiere or V60, etc) and, of course, the way the person tasting the coffee perceives and then describes flavour.

So to help you find the words to differentiate one coffee from another, we thought we’d give a few pointers on how to describe what’s happening in your mouth when you take a sip. Top tip: don’t take it too seriously!


Don’t edit yourself.

When you taste, allow yourself to just say (or think) the words that try to come into your head. A stream of semi-descriptive gobbledygook is fine: at this stage it’s about getting used to crystallising those fleeting sensations in words. You might also hit on a point of reference that’s likely only to be meaningful to yourself – that microwaved Mars Bar sauce, all treacly and nougat-y, that you used to make to put on ice-cream when you were a kid, say. That’s also fine.


Make yourself two very different coffees.

Appreciating just how different one coffee can be from another gives you a feel for the size of the coffee flavour universe. And the most impactful way of doing that is in the moment (rather than comparing today’s coffee to a fading memory of one from last month). So brew up, say, a natural Ethiopian and a washed Honduran or semi-washed Indonesian and compare sips. The reason that washed coffee is often described as ‘bright’ and natural coffee as ‘earthy’ will become much more apparent when they’re experienced side by side. Now when you have a new-to-you cup at a café, you can plot it on your mental map.


Remember your AAABF.

Try to keep the following five categories in mind when you taste a coffee: aroma, acidity, aftertaste, body and flavour. Rather than feeling you have to come up with poetic, nuanced descriptions for each of the categories, a good way to start out is simply to ‘rank’ them against each other for any given coffee. So you might have something like ‘The aroma really lingered and seemed to merge with the flavour’ or ‘I didn’t get much of an aftertaste but there was a really obvious body to this one’. (If you’re not sure what is meant by ‘body’, try thinking of it – if you can bear to – as ‘mouthfeel’.)

What you notice most often when tasting might well be an indication of what you look for in a coffee. For instance, if you find yourself picking out acidity, that could well be because it’s the cleaner, brighter coffees that speak to you.


Try different brew methods and temperatures.

We’re really getting into geeky territory now, but you might brew your new bag of single-origin jute using different apparatus. Using a cafétiere retains more of the coffee’s oils, for instance, so you’re likely to detect more body and less acidity than if you were using a V60. Something else to bear in mind is that a cup of just-brewed coffee left for a minute or two can be like an unfolding flower bud, in terms of the release of aromas. (In fact, some people think that if a coffee doesn’t taste good cold, it’s not a good coffee.)

Easy coffee recipes

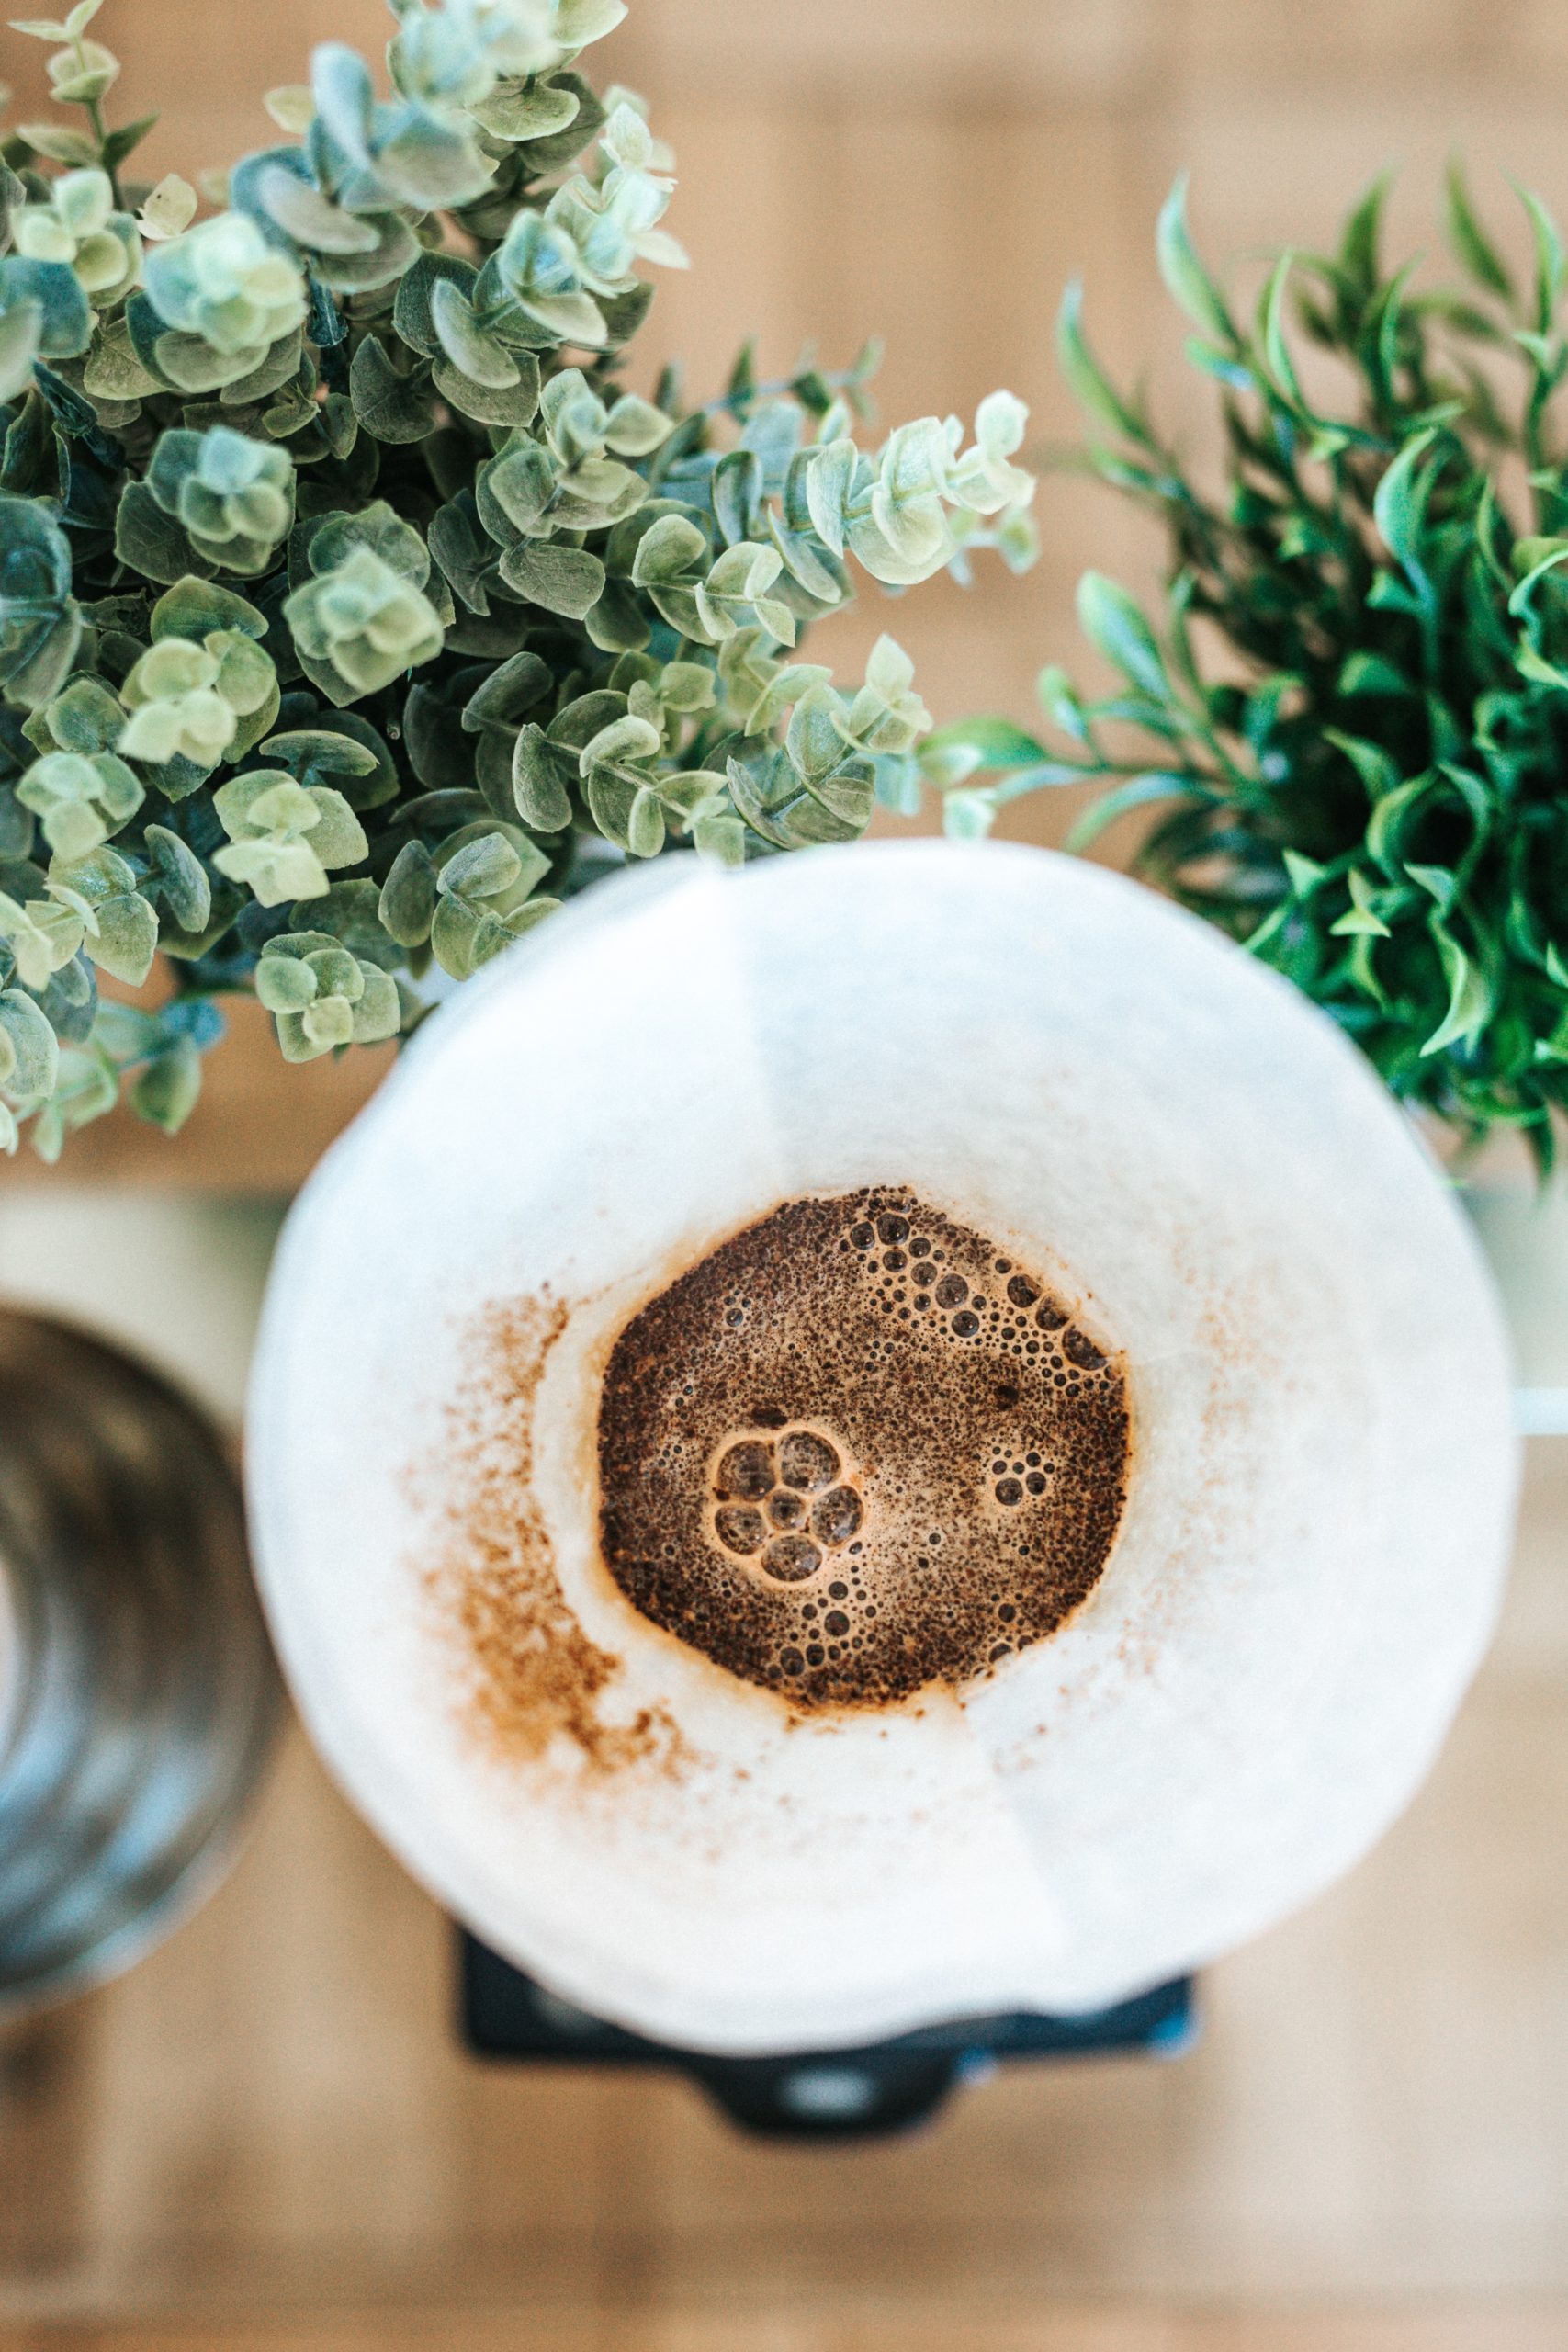
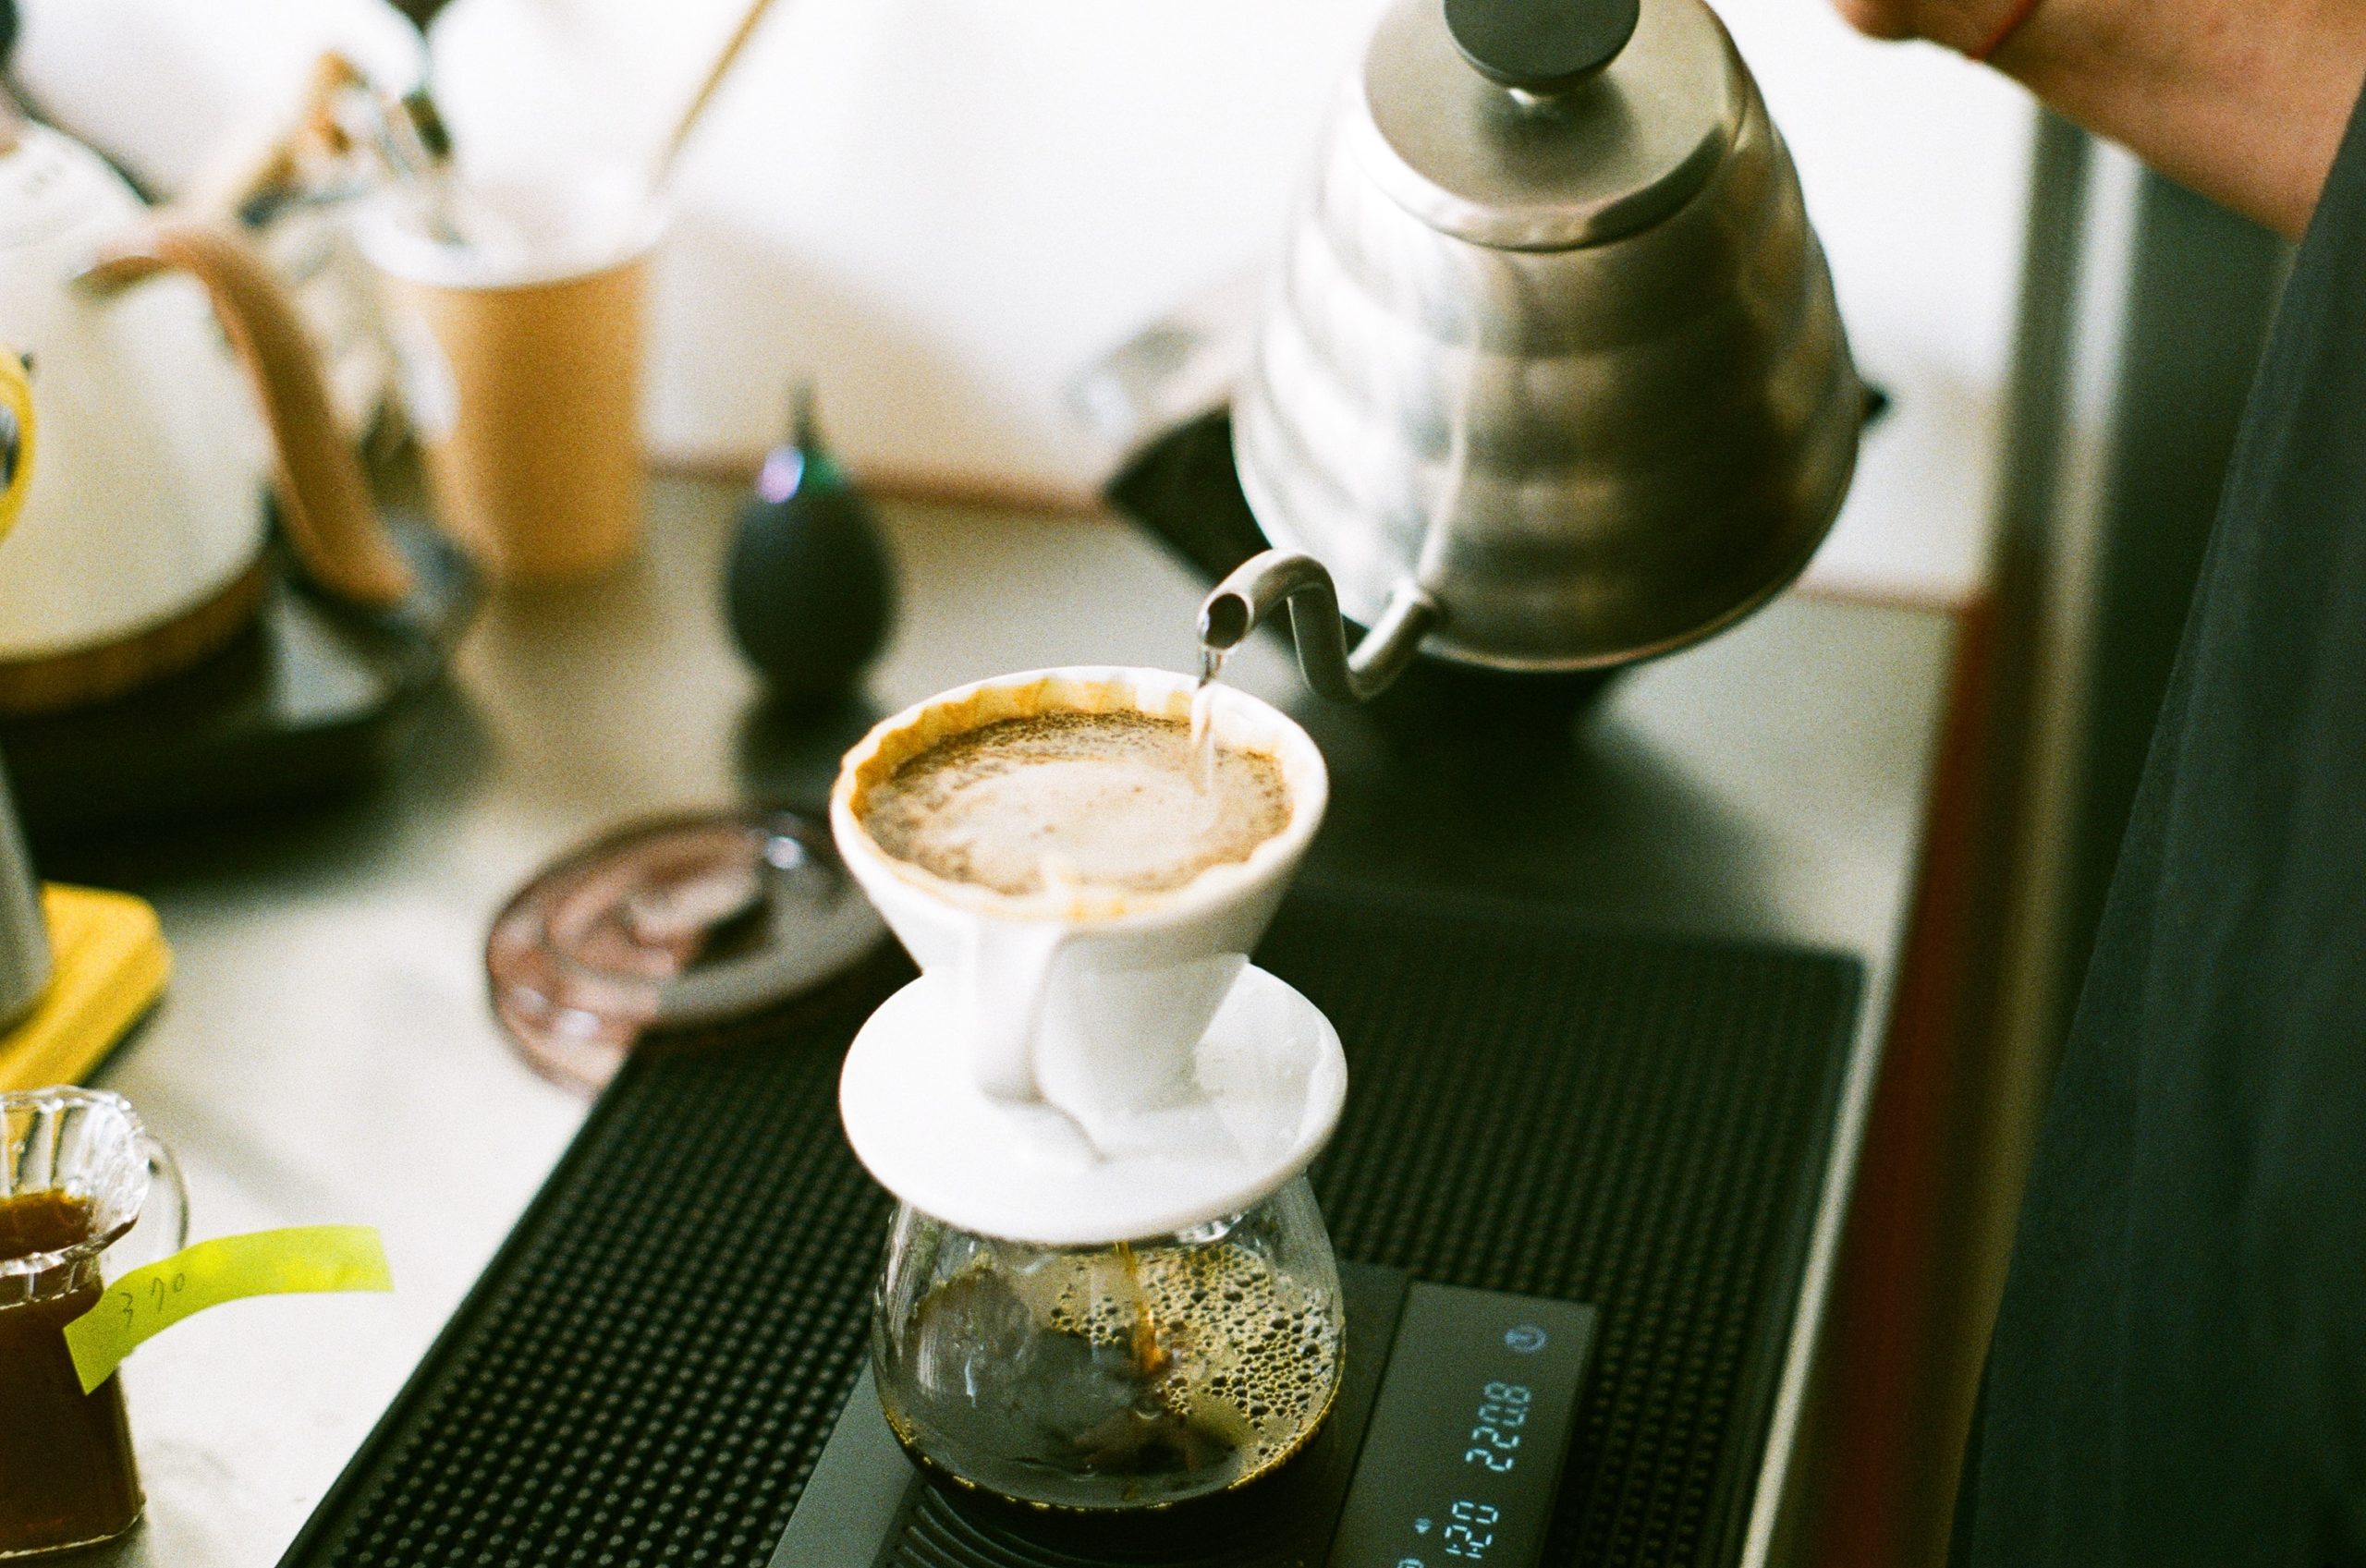
The more you explore the flavours of coffee, the more that’s revealed to you. You get a taste for nuance and start tuning into subtle shades of flavour. A reaction that was at first something like, ‘Wow, that’s fruity/nutty/chocolatey’ opens out into a whole world of major and minor notes.

That’s why the only addition we generally make to our coffee is milk.

But that’s not to say that coffee doesn’t complement other flavours. It just needs the right pairing. And coffee doesn’t just have to be sipped, either: you can even crunch it, which brings us to…


Coffee granita

Coffee granita is two treats in one. It makes for wonderful refreshment on a hot day but it can also serve as a simple, delicious dessert or boozy post-dinner pick-me-up.

The Sicilians are the masters of this delectably crunchy coffee drink. They call it granita di caffè (it’s just one of many granita in the Sicilian repertoire) and on the island espresso is the only acceptable base.

We feel that any strong, delicious batch of coffee will do the trick. The knack to coffee granita is getting the ice right. To ensure a perfect glass of gorgeous icy gravel, there are two main things to bear in mind:

First, granita ice should retain a crunch, so don’t add too much sugar, which tends to make such drinks soft and slushy. Use anything between 10–15 parts coffee to one part sugar, depending on the sweetness of your tooth.

And you do have to sweat a little for your granita. As the coffee freezes, beat it furiously every hour or so with a fork. This way, once the lovely icy mess is fully frozen, the consistency will be just right.

So it’s a case of making the coffee, sweetening it, letting it cool then freezing it. Administer brisk whiskings every hour or so, right up until the freezing process is complete.

That’s for your basic coffee-granita-as-refreshment. To make a dessert of this base, you might add any (but not all) of vanilla, whipped cream, grated chocolate, mascarpone cheese or coffee liqueur.
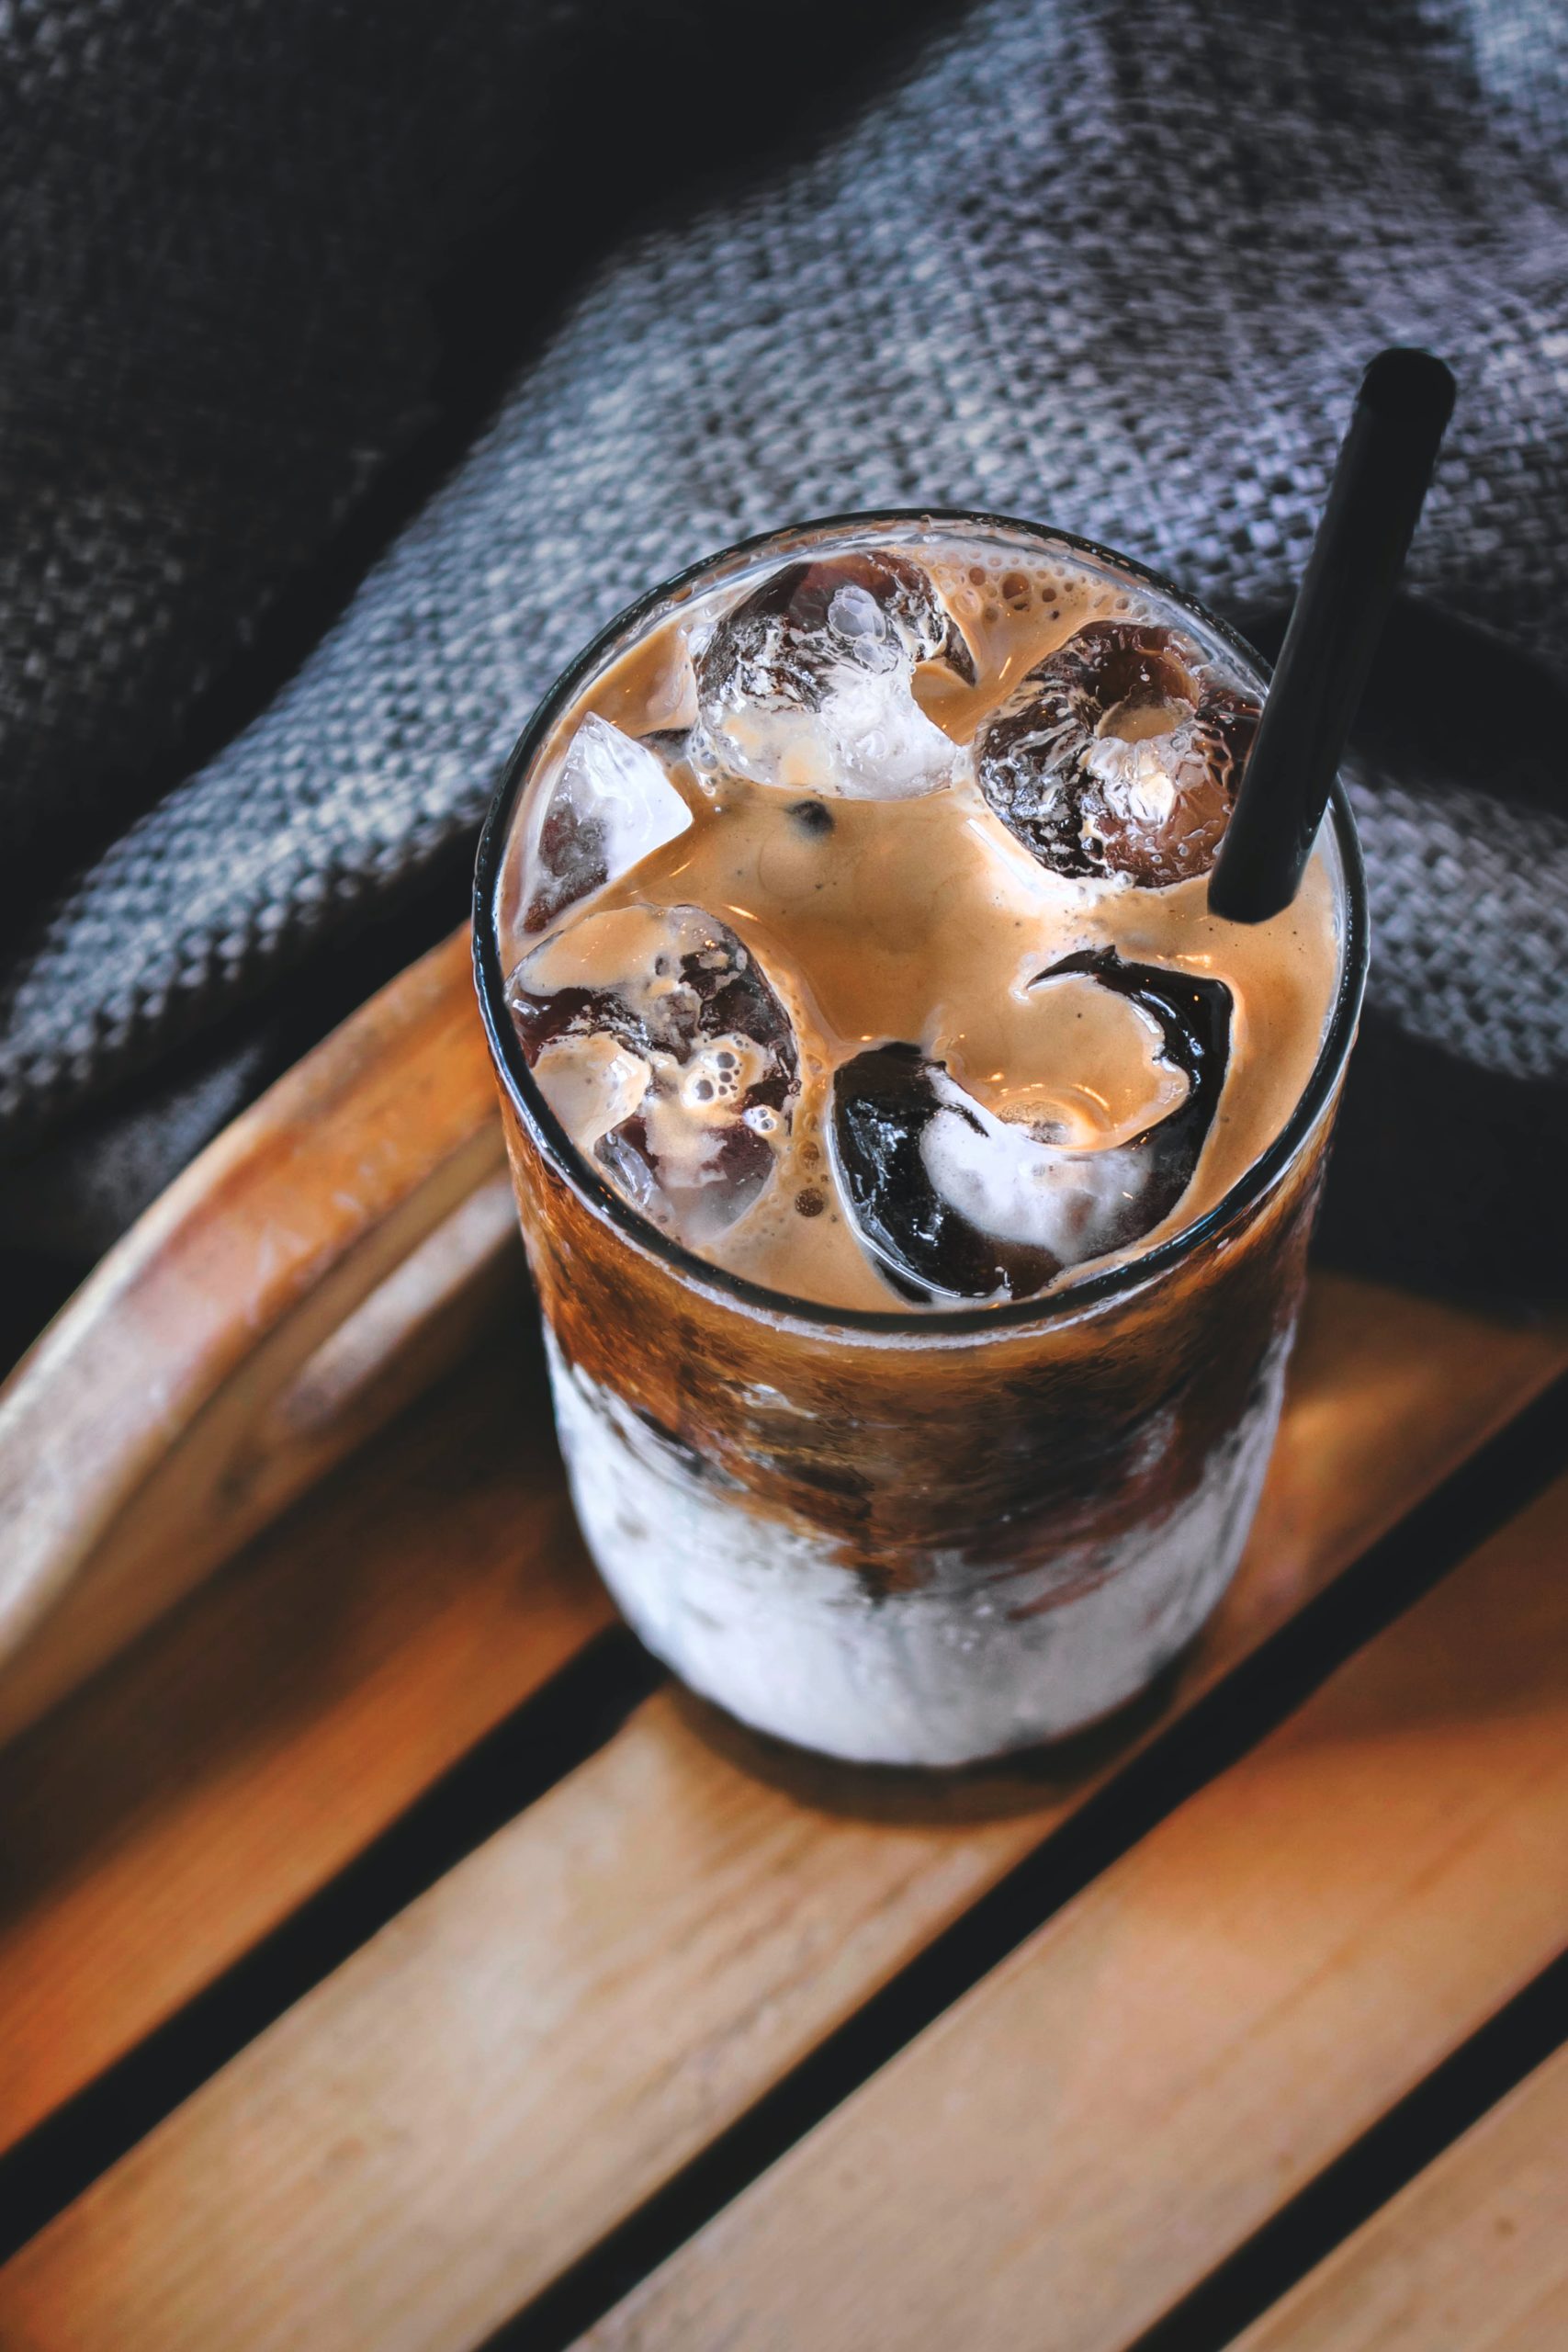
 

Iced coffee

Our preferred origin story for iced coffee is very much inspired by the Nick-Kamen-stripping-in-a-launderette Levi’s ad. It takes place in some unnamed but sweltering Italian city where an Italian waiter sweats despairingly at the espresso machine, before he is struck by a life-saving brainwave that sees him commandeer the aperitivo ice for a world-changing new invention: iced coffee!

The real story is less glossy. And it’s French. The original iced coffee is café mazagran, named after a siege at Mazagran in Algeria, when French soldiers drank their coffee cold to combat the heat. (We much prefer the Levi’s ad version.)

Just like granita, you need a strong brew for iced coffee. If you like it on the sweet side, be sure to add the sugar when the coffee is still hot. Some people prefer the Canadian warm buttery mellowness of maple syrup.

If you’re having milk, whether cow or non-dairy, it goes in last. This stage is to be savoured, actually, with the white tendrils racing around the ice cubes rattling in the black depths. Opting for cream over milk just makes the whole thing silkier.

As for the coffee itself, it certainly doesn’t have to be espresso – if you’re preparing iced coffee at home, just make the coffee stronger than you normally would. And if you think homemade iced coffee is going to become ‘a thing’ for you, go the whole hog and make a big batch of black coffee ice cubes – this way the ice won’t dilute the final drink. You could chill your glass, too.


Espresso martini

They’re one-of-a-kind, espresso martinis. You’d be forgiven for being confused about their role. We tend to drink espresso in the morning or following a meal, after all – two occasions when whipping out the slender-stemmed martini glasses seems a bit off (or, in the former case, troubling).

Legendary Soho bartender Dick Bradsell invented the espresso martini in the early 1980s, when an exhausted fashion model instructed him to “wake me up and then f*ck me up”; this London original has since wended its merry way across the world.

Like many classic recipes – Thai green curry and carbonara pasta, we’re looking at you – it is frequently massacred. The quantities, ingredients and technique really matter here.


First, the ingredients:


  • 45ml good vodka
  • 25ml even better coffee liqueur 
  • 50ml espresso or other very strongly brewed coffee
  • 10 ml/2 tsp vanilla syrup; you can make your own using granulated sugar


Now get a cocktail shaker and fill it around two-thirds full with ice. Pour all the other ingredients on top, fasten the shaker, then rattle like your life depends on it. That’s what produces the creamy froth when you strain the liquid into your (chilled) martini glass. We like a bit of chocolate powder sprinkled on ours, cappuccino style.


Gingerbread latte

Starbucks. There. You might be surprised to see their name on our blog. But the coffee behemoth’s bells-and-whistle dessert-drinks are a cultural phenomenon and their dastardly gingerbread latte arguably the defining Christmas flavour of our time. 

Unlike the espresso martini, you’re not tapping into a heritage of gastronomic perfectionism here. The gingerbread latte is the onesie of the drinks world: it’s all about getting cosy.


The key is the spice syrup. You want those Christmassy flavours, so dig around in the cupboard for ground ginger, nutmeg and cinnamon. Per cup, you need a teaspoon of ginger and a quarter to half a teaspoon each of nutmeg and cinnamon. 

Add them to a pan with a little vanilla extract, a tablespoon of sugar and 100ml of milk. You could pop a clove in there, too. Warm the whole lot through until everything melds beautifully together. Whisk in another 150ml of milk then add 70ml of strong-brewed coffee. 

Toppings of whipped cream, sprinkles, chocolate shavings and mini gingerbread men optional. Any day you make gingerbread latte is Christmas day, when everyone knows calories don’t count.

How to brew excellent coffee at home

Cafés that take their work seriously often adopt a certain ‘look’. It’s kind of a mash-up of white cube gallery foyer + Scandinavian wood cabin + rickety laboratory and it has caught on the world over. The last ingredient in this aesthetic – the lab, with bulbous glass vessels perched in wooden stands, attended to by focused-looking folk – speaks to the seriousness with which craft coffee is taken and the myriad ways in which it is prepared.

The array of kit associated with brewing craft coffee is not just for show. Coffee has thirty percent more chemical compounds associated with flavour than wine does: there’s a lot going on in those little beans and many ways to tease out their flavour potential. That’s why quality coffee shops often have so much apparatus.

You don’t need to fit your kitchen out like a café but it’s fun to have the choice of a few different methods to call on at home. We’ll get onto the different kit below, but there are also other factors to bear in mind when brewing domestically: it goes without saying that the quality of the beans is key, but similarly significant are the quality and temperature of the water used; the water-to-coffee ratio (in terms of quantity); the brew time; and the grind size of the coffee.

But, never fear – brewing excellent coffee at home need not be intimidating. Let’s break it all down a little.

Water-to-coffee ratio

One common misconception is that more coffee means more bitterness, but adding more coffee to your brew will actually just make it stronger. What does lead to bitterness is when you don’t use enough coffee, because you end up over-extracting the coffee that’s there.

The best brew ratio is 15 parts water to 1 part coffee. So if you know how big of a cup of coffee you want, weigh the water on an electronic kitchen scales and divide the figure by fifteen to get the weight of coffee you should use.

Water temperature

If you don’t fancy going the whole hog and using a thermometer, the main thing to remember here is that coffee doesn’t like being boiled. If you are going full thermometer nerd, the best temperature for brewing is 90-95 degrees Celcius, a range that amplifies coffee’s natural flavours.

Grind size

The right grind size (i.e. how coarse the ground coffee is) really depends on the brewing method used. See the next section for more about that. But one thing to note is that the quality of grinder has a big influence on the end result. Treat yourself to a burr grinder for the best results.

Brew time

A good rule of thumb is that brewing your coffee shouldn’t take less than two and a half minutes or more than four minutes. But there’s the odd exception, such as the Chemex (see below).

Brew method

V60

Popular since the early noughties, this is a lovely method for brewing one pour-over cup at a time. This option is a great way to get started in trying new brewing methods. V60s take a medium grind.

Kalita Wave

Similar to the V60, but with a flat bottom which, in theory, gives you a more even result. But that also depends on the evenness of your water pour!

Chemex

This stylish, vase-like contraption is a great pour-over option when you want to brew high-quality coffee for a few people at once. You can make up to six cups in one go with a Chemex, and the brew time is longer than for other methods: four to six minutes. Go for a medium-coarse grind.

AeroPress

Satisfyingly ingenious, fun, hard to break and really easy to transport. You can end up making a bit of a mess if you don’t plunge carefully, though. Once you have the knack (we go for the ‘inverted’ method), the AeroPress produces consistently excellent one-cup results. Medium-fine grind for this one.

Cafétiere (aka French press)

A classic piece of kit that generates a quite intense body. Use a scoop of coarse ground coffee for each cup you’d like to brew and serve with a chilled out playlist and pastries.

Siphon

Invented nearly two centuries ago, this marvel of glass chambers and metal coils looks like it should come with a Bunsen burner and a pair of goggles. It’s a theatrical choice but hardly straightforward, and oh-so easy to smash. Takes a medium grind.

Follow Us

Join our community

Sign up to our emails to get the latest news and offers from the roastery

Your information is incredibly important to us, we do not share details and guarantee your privacy. Please feel free to browse our Privacy Policy.